Knowing how to prepare walls for painting is what separates a paint job that looks professional from one that shows every flaw within a few months. Before a single drop of paint goes on, walls need to be cleared, cleaned, repaired, sanded, and primed — skip any one of those steps, and even premium paint won’t hide the difference.
This guide breaks down exactly how to prep walls for painting, from a single room to a whole-home repaint, using the same process Aries Painting & Finishes follows on every interior project.
Why Wall Preparation Before Painting Matters
Paint doesn’t fix a wall’s problems — it reveals them.
Dust, grease, glossy old paint, and unpatched holes all interfere with how new paint adheres and cures. Good wall prep gives the new coat a clean, even surface to bond to, which means better coverage, fewer touch-ups, and a finish that actually lasts instead of chipping or peeling within a year.
It’s also the single biggest factor in whether a repaint looks like a repaint — or like the room was always that color.
Step-by-Step: How to Prepare Walls for Painting
Every professional preps walls in roughly the same order, regardless of room size. Here’s how to get walls ready for painting, start to finish.
Clear the Room and Protect Your Space
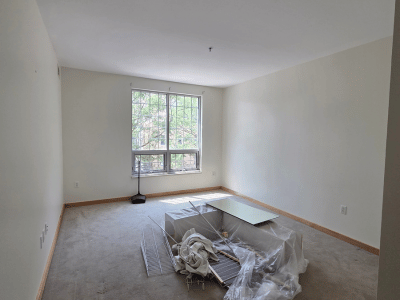
Move furniture to the center of the room or out entirely, and cover what’s left with plastic sheeting. Lay drop cloths along the floor, and remove switch plates and outlet covers before anything else starts. Taking a few extra minutes here protects your belongings and makes every later step faster and cleaner.
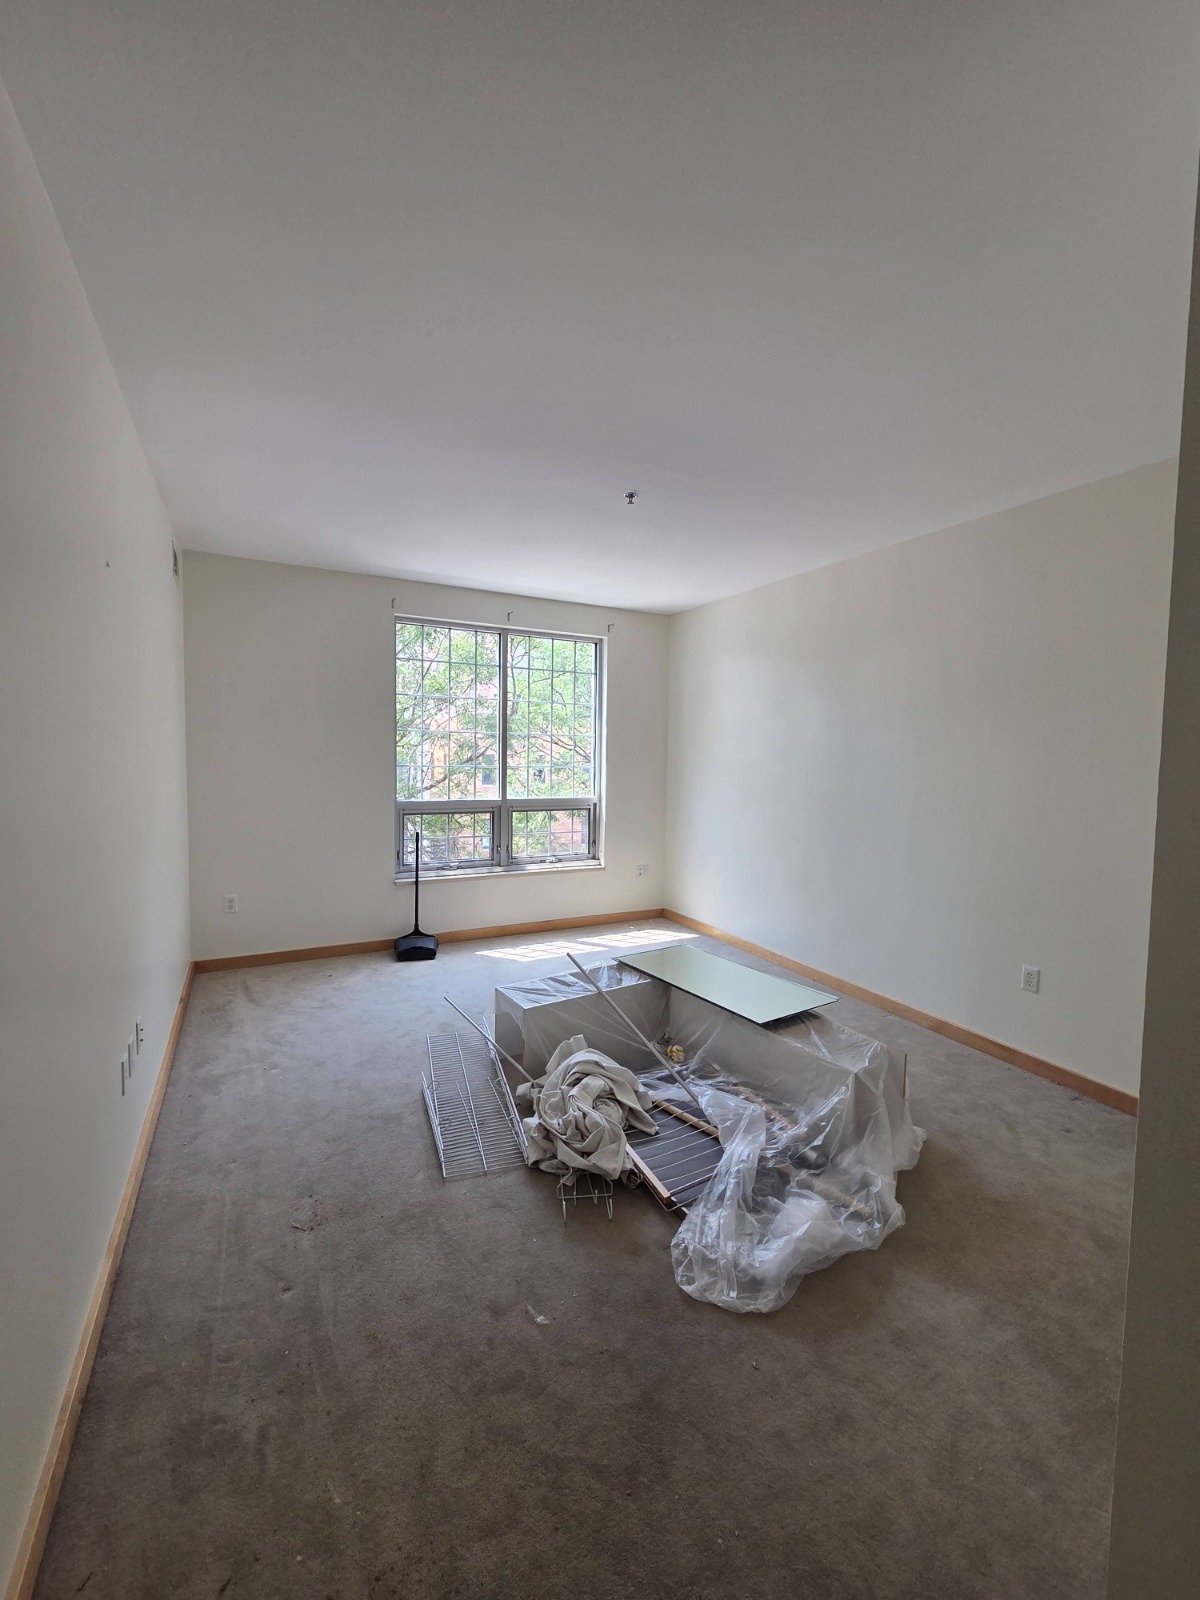
Cleaning Walls Before Painting
Cleaning removes the dust, cobwebs, and grease that keep new paint from bonding properly. For most rooms, a damp microfiber cloth or sponge with mild dish soap and water is enough. Kitchens, bathrooms, and areas near light switches often need a stronger degreasing wipe-down, since built-up oils and fingerprints are common in those spots.
Let walls dry completely before moving on — painting over damp walls traps moisture under the new coat.
Repairing Walls Before Painting
Nail holes, dents, and small cracks all need lightweight spackle or joint compound pressed in with a putty knife. Let the patch dry fully — check the product label; most need a few hours — then check it again once dry, since compound can shrink slightly as it cures.
Larger cracks or damaged drywall may need mesh tape and a second coat of compound before they’re ready to sand.
Sanding Walls Before Painting
Sanding smooths patched areas so they’re flush with the surrounding wall, and knocks down any glossy sheen on the existing paint so new paint can grip instead of beading up.
A fine-grit sanding sponge (150–220 grit) works well — sand lightly in circular motions, then wipe the wall down with a slightly damp cloth to remove sanding dust before it settles into the new paint.
Priming Walls Before Painting
Priming isn’t always required, but it matters more than people expect in a few situations:
Bare drywall or patches Water stains Big color changes Sanded glossy surfaces
A stain-blocking primer is worth the extra step over patched spots, so old repairs don’t “flash” through the topcoat as a different sheen once the room is painted.
Common Wall Prep Mistakes to Avoid
How Long Does Wall Preparation Take?
Overall prep time depends mostly on the wall’s condition.
Of prep before the room is ready for paint.
With multiple patches, heavy cleaning, and primer coats.
That’s part of why professional interior painting preparation is usually bundled into the overall project timeline rather than treated as a separate step.
When to Call a Professional
DIY wall prep works fine for small touch-ups, but larger repairs, water stains, or walls with years of built-up grime are easy to under-prep without realizing it — and the results only show up after the paint has dried.
Knowing how to prepare walls properly is what determines whether a repaint holds up for years or needs a redo within one.
Prep Is Included, Not an Add-On
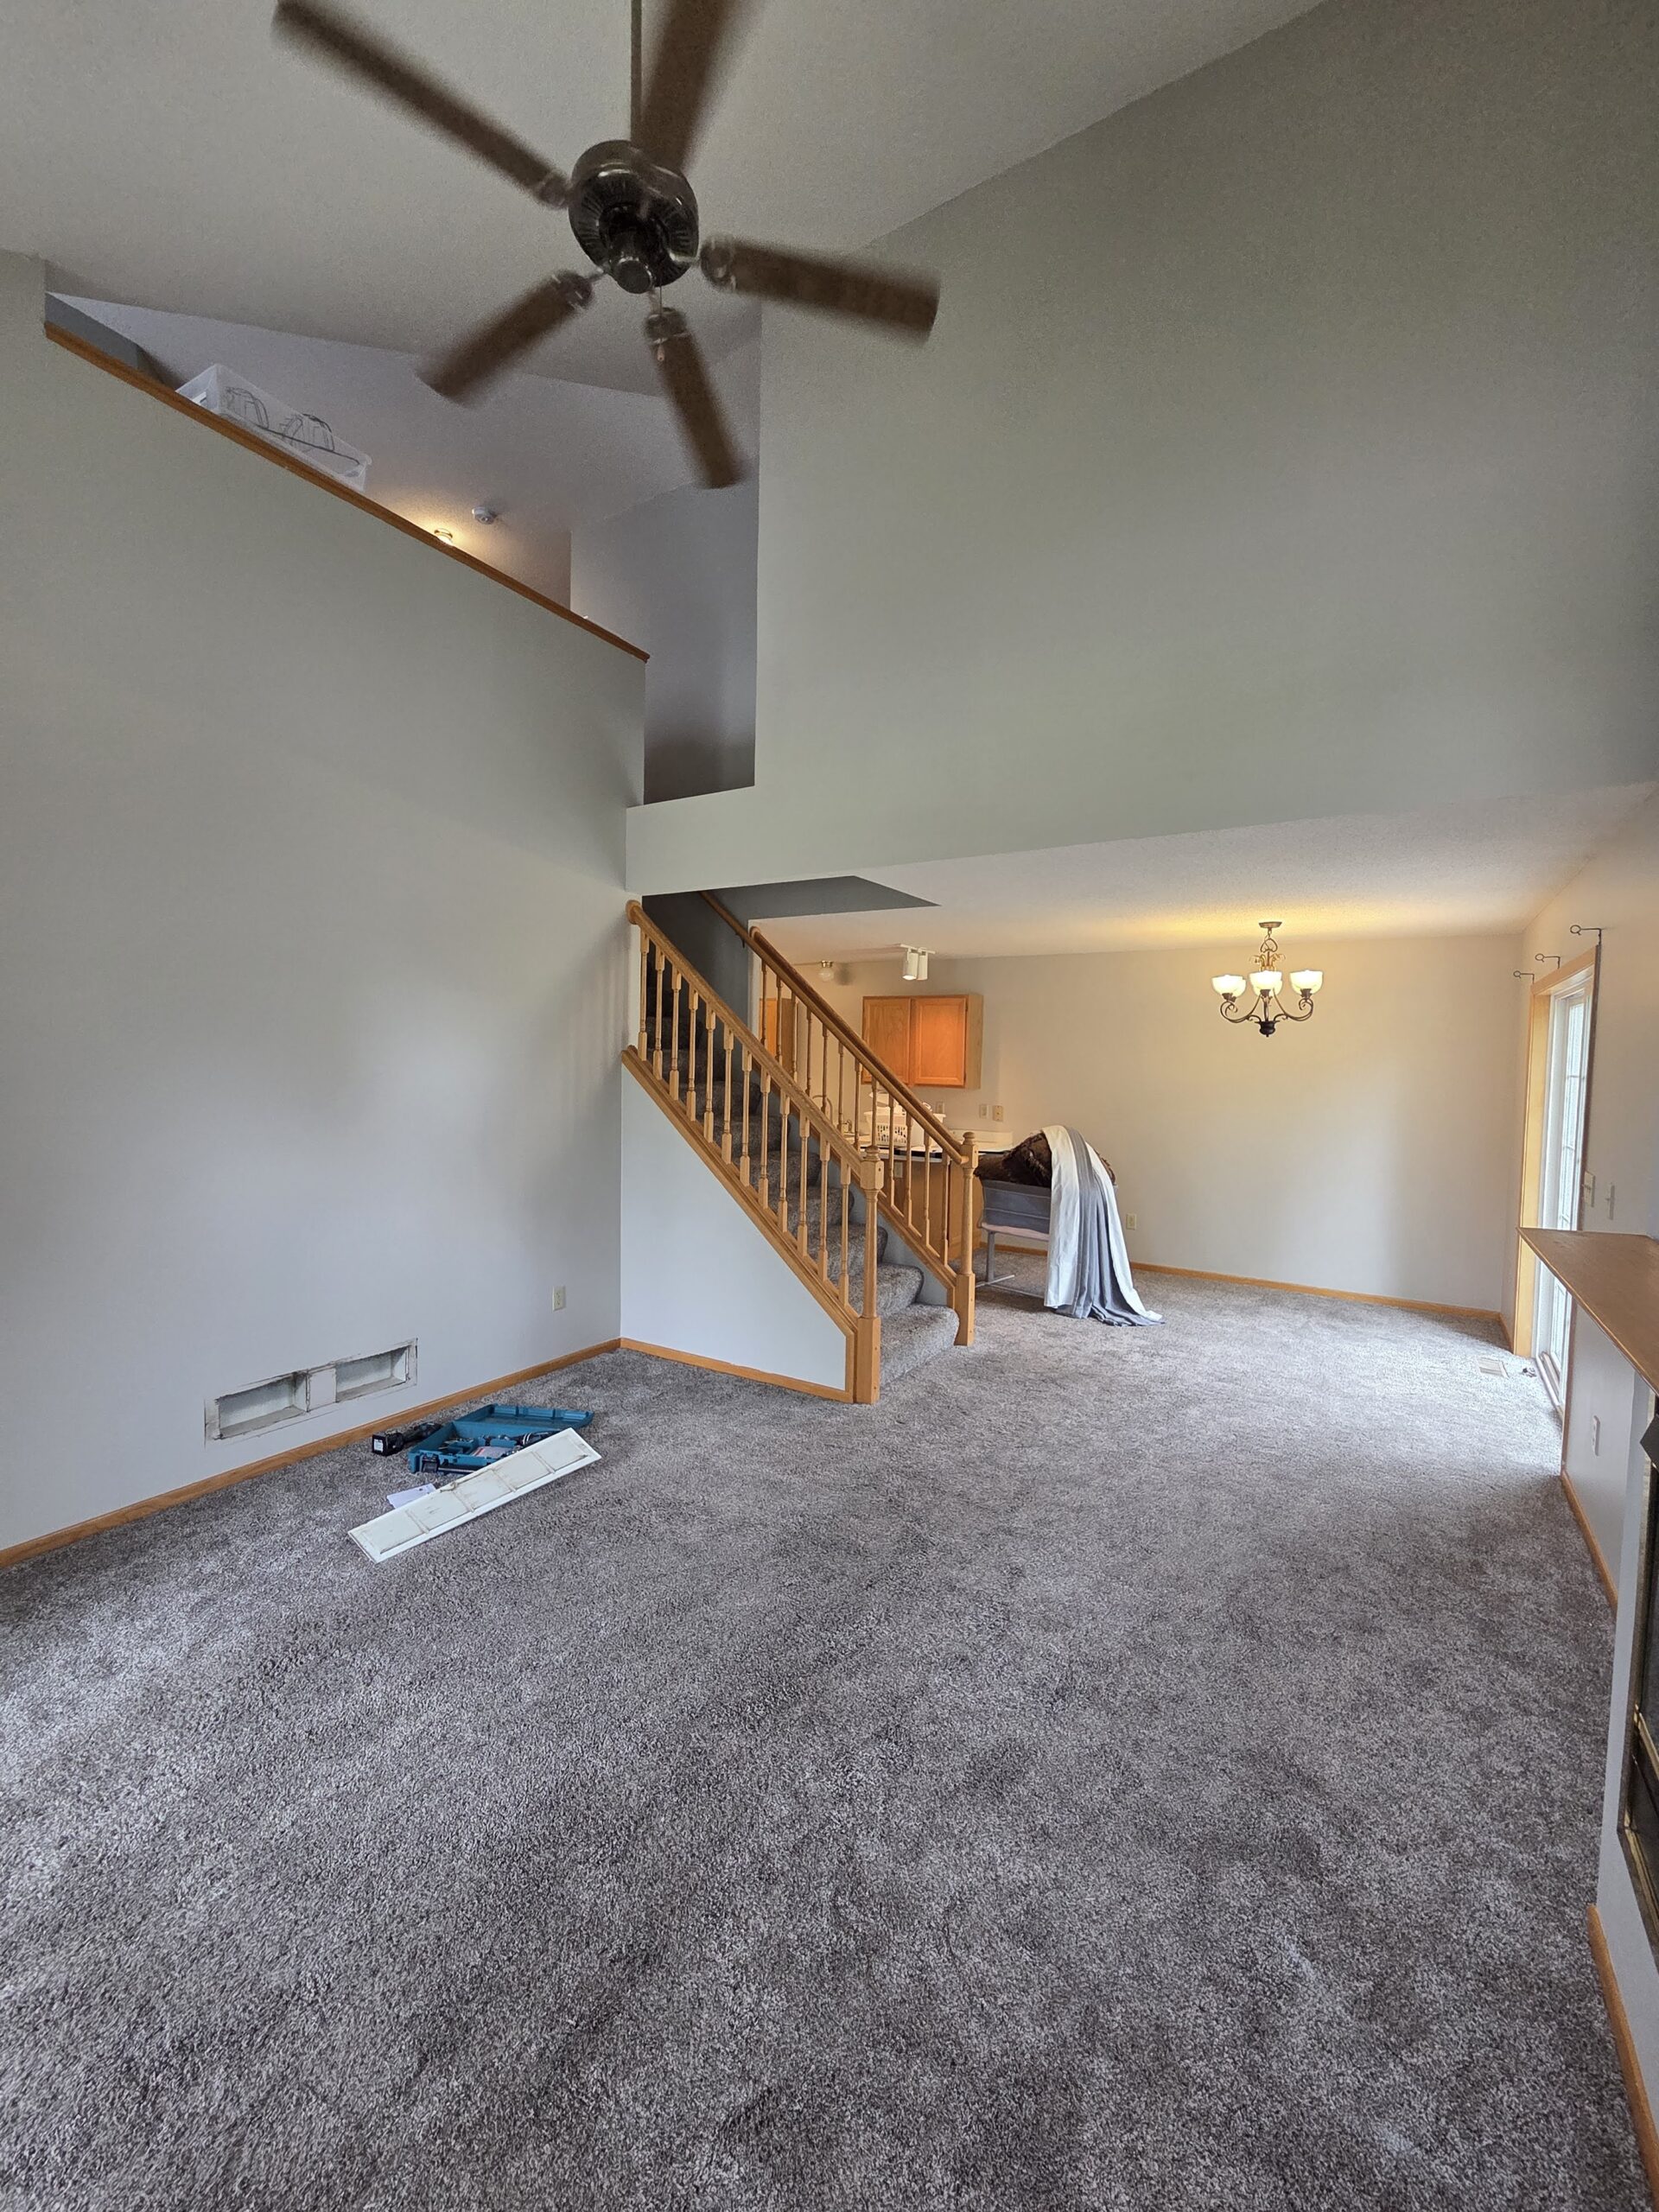
Aries Painting & Finishes has served the Twin Cities since 2011 with a wall prep process that covers cleaning, repairs, sanding, and priming before a single coat goes on — so the finish lasts instead of needing early touch-ups.
No guessing at what’s included.
Wall Prep Checklist at a Glance
Ready to Skip the Guesswork?
Request a free interior painting estimate from Aries Painting & Finishes — we handle every prep step before the first coat goes on.